frequently asked questions
-
Product Specifications
Peel-And-Stick Standard / Smooth & Textured
The industry's leading choice for peel-and-stick wall-graphic material, our phthalate-free flexible vinyl is a tough polymeric plastic film that’s resistant to abrasions, oils, chemicals, and some solvents. Coated with our proprietary adhesive—a unique water-based formulation that works great on surfaces such as painted drywall, sanded wood (w/o lacquer), and most any non-textured or non-porous wall—this material is perfect for home or commercial applications that require both superior tack and clean removability.
- 25” wide panels x your wall height
- 1/2” overlap on all sides (murals only)
- Smooth and textured thickness: 6 mil
- NFPA Class A tested and approved fire certification
click here to download spec sheet
Peel-And-Stick Heavy Duty / Textured
The most durable peel-and-stick decal with a slip resistant (ASTM certified) vinyl surface and fabric backing. Resistant to mild acids, alkalis & salt solutions. The perfect solution for textured walls due to its thickness and acrylic adhesive. Sticks to almost any surface (tile, glass, carpet, wood, metal, stone, and painted surfaces) but is still repositionable and leaves no residue.
-
How to Measure
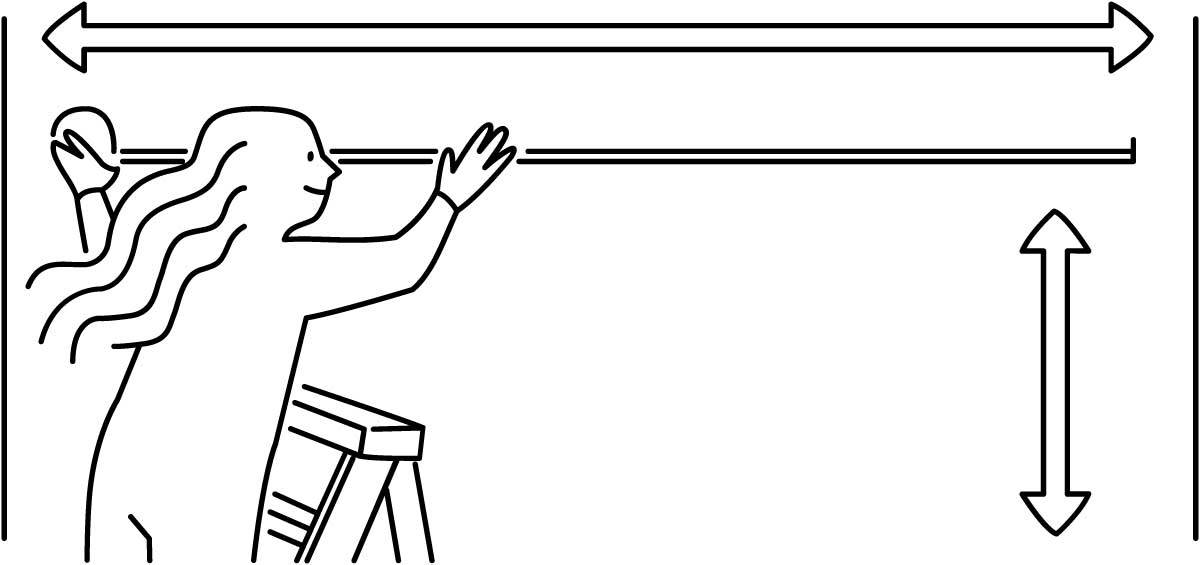
First off, you got this. All you need to get started is the width and height of your wall at the longest and widest possible points.
For Best Results
Use a tape measure.
Measure once, then measure again.
For Worst Results
Forget to write your measurements down.
Wear white socks with sandals.
Standard Walls
Note the widest width and the highest height of your wall. Measure to the nearest 1/8" of an inch, if the size is on a 1/16" mark, then round down to the next 1/8". Don’t include any baseboard or crown molding. All you need are measurements for the wall space you want to cover.
Since walls are not always perfectly straight, we will print your wallpaper 1/2” larger in (in all directions) than the dimensions you give us. This provides you with excess paper for trimming and to ensure full wall coverage.
Sloped Wall
Measure at the longest and widest points only, ignoring any slopes. Your wallpaper is delivered as a whole rectangle or square. You cut off the slope during the installation.
Pitched Wall
If your wall has two slants, identify and measure the longest part of the wall in both the width and height. Again, your wallpaper is delivered as a whole rectangle or square with the cutaways happening during installation.
Walls with Obstacles
When there is a door, window, or other obstacle on your wall, only measure the total width and height of the wall as the obstacle will be cut out during hanging. Feel free to send us additional measurements and a photo of the obstacle—especially if it’s something really cool like a portal to another dimension—and we’ll send you a proof image that shows what your wall will look like with whatever weirdness you got going on.
Multiple Walls
If you’re looking to wrap a wallpaper pattern or a mural that spans across multiple walls, measure each wall's height and width separately. You will then need to combine the widths of each wall into one measurement when ordering. The height measurements remain, whichever wall is taller.
-
How to Install
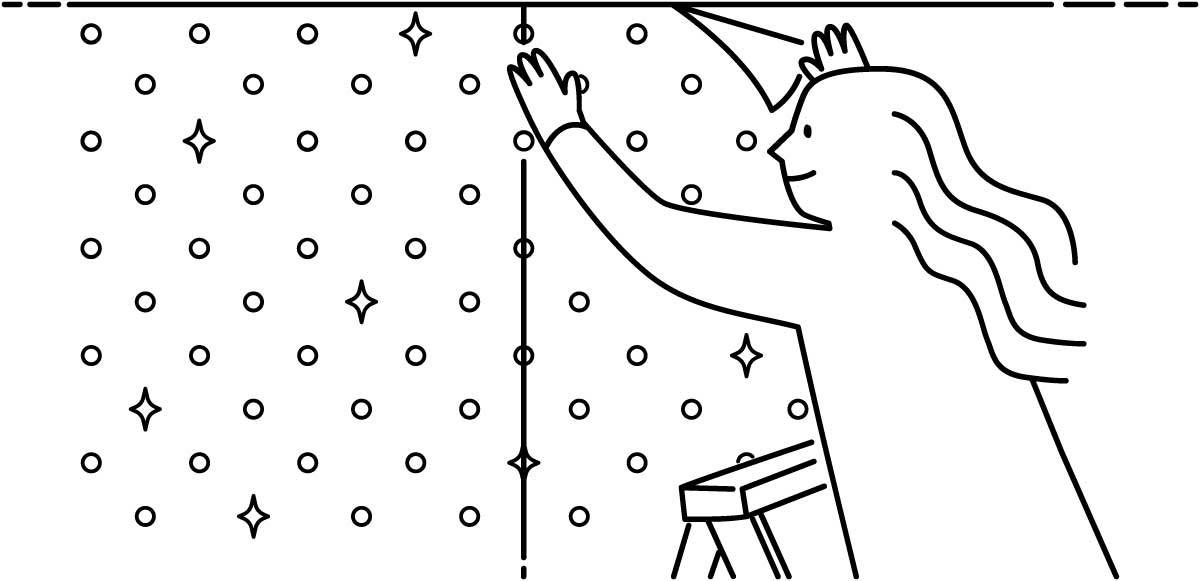
That feeling of accomplishment and DIY pride is just five simple steps away. Whether you’re ready to install your custom wallpaper of doing a little research before you order, this general overview is here to show you how easy it is to hang our custom wallpaper. For more specific steps, check the instructions that come with your box or go to our quick-start video library.
Prep Your Wall
Ready to slap up your kicking new wall design? Hold up a sec. One of the cool things about custom wallpaper is how hides minor dings, cracks, and wall imperfections. But taking a little time to ensure your wall is smooth and free of major imperfections will make your wallpaper look its best long term. Even if your wall looks clean, wipe it down with a damp sponge or cloth—DO NOT use soap or any cleaning agents—to get rid of any dust or dirt that may interfere with your wallpaper’s adhesive.
Recommended Surfaces
- Smooth Walls
- Painted Drywall (eggshell to high-gloss finish, no matte/flat paint)
- Sanded Wood (that’s been painted)
Not Recommended Surfaces
- Freshly painted walls (Wait 30 days after painting. You gotta trust us on this one.)
- Textured Walls
- Unpainted Drywall
- Brick
- Cinderblock (Are you seeing a trend?)
Prep Your Panels
Your wallpaper is printed on precut, 25”-wide panels that are rolled together and shipped in a box. In the case of murals, each panel is helpfully numbered to make the hanging go smooth; just lay out the panels in sequential order, and you’re ready to go.
Peel-and-stick Your First Panel
Starting in a corner, hang your first panel. Work from top to bottom and allowing the paper to fall naturally. Work your way down by smoothing over any wrinkles and air bubbles with a credit card. Check carefully for correct fit in key image areas (eye level and focal points) before top and bottom trimming, and reposition if necessary.
Refresh Your Drink
Or make nachos. Both are optional but highly recommended.
Repeat and Enjoy
Continue to hang each subsequent panel the same as above until your wall is complete, then kick back to admire your wall or—better yet—invite your friends over to eat, drink, and be merry.
-
How to Remove Wallpaper
No mess. No time-suck or removal tools required. Modern, peel-and-stick wallpaper is easy to reposition or change out whenever you desire. Just start at the top corner of any panel and—working parallel to the way—pull the wallcovering down gently but firmly. If you plan on reusing the panel, pull it down slowly and gently so you don’t overstretch it.
